

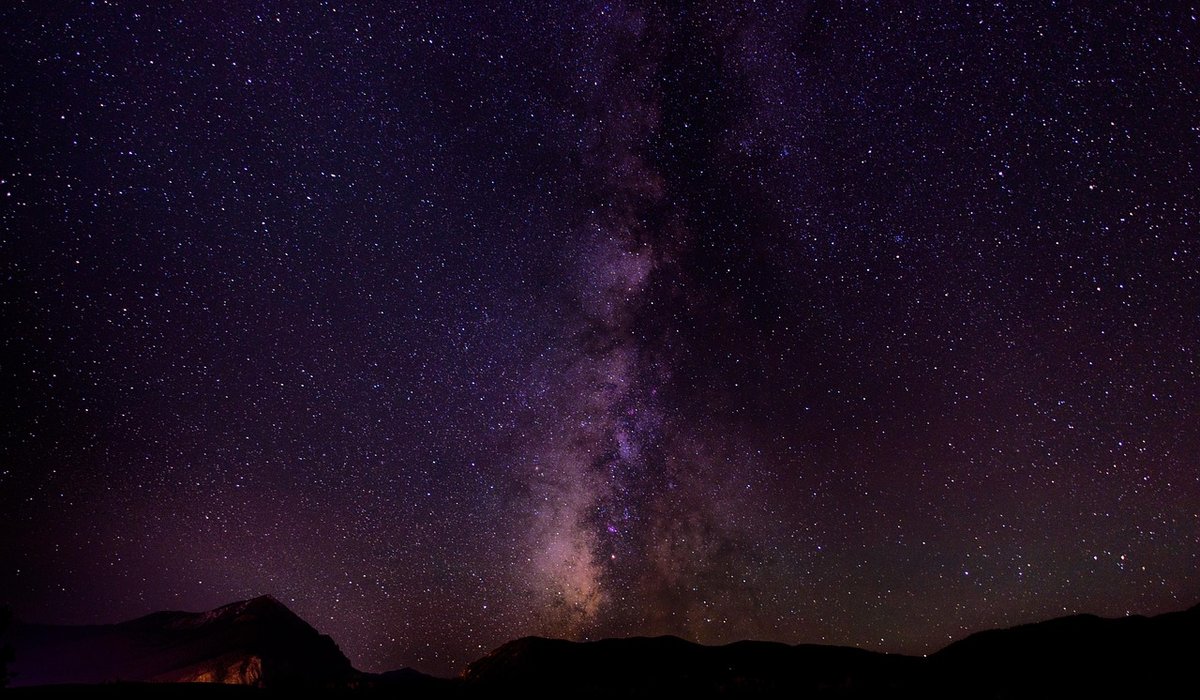
Finding Dark Sky Sites Near Your Home
Start by Measuring the Darkness at Home
Before you drive anywhere, spend a few evenings in your own garden. It gives you a baseline, and it teaches you what your local sky can and cannot show you. Wait until your eyes have adapted for at least twenty minutes, then count how many stars you can see inside the four corners of Orion, or trace the Plough and see whether the faintest of its seven stars comes easily.
Note which direction is worst. Most UK towns and villages are brightest towards the nearest large settlement, and that glow can wipe out an entire quarter of the sky. If your streetlights are the problem, a simple trick helps: stand so a wall, hedge or shed blocks the nearest lamp from direct view. Even a modest improvement in shielding makes a surprising difference to how much you can see.
Once you know your limits, you have a target. A site that is genuinely darker than your garden — not perfect, just darker — is worth the journey.
Reading a Light Pollution Map Properly
Online light pollution maps are built from satellite measurements of artificial light at night. They are the fastest way to find darker ground near you, and they are free. The colour scale runs from black and deep grey (the darkest skies in the country, mostly remote uplands and coast) through blue and green (rural, still very good) to yellow, orange, red and finally white for city centres.
Zoom into your postcode and look for the nearest patch of green or blue. In most of the UK, a drive of twenty to forty minutes can drop you a whole class or more, and that single step is often the difference between seeing the Milky Way as a faint smear and seeing it as a structured band of light and dust.
Treat the map as a guide, not gospel. It cannot see individual streetlights, a single floodlit farmyard, or a new housing estate built since the data was collected. Cross-reference with satellite imagery to check for tree cover, buildings and whether there is actually anywhere to stand.
Build a Shortlist of Real Places
Good sites usually fall into a handful of categories. Look for:
- Country lanes with wide verges — a grassy pull-in away from gates and bends, where you can park clear of the road and set up on foot.
- Local parks and recreation grounds — many are darker than you would expect once the sports floodlights are off, and they are usually within walking distance.
- Nature reserves and conservation car parks — often deliberately unlit, but almost always require permission or have locked gates.
- Canal towpaths and reservoir edges — open horizons over water, though you must stay well back from the edge in the dark.
- Village greens and quiet churchyards — small, accessible, and frequently darker than surrounding streets.
Aim for two or three candidates rather than one, so a locked gate or a full car park does not end your evening.
Check Access, Safety and Permission
Always recce a new site in daylight first. You are looking for three things: whether you are allowed to be there after dark, whether you can park without blocking a gateway, field entrance or passing place, and whether the ground underfoot is safe.
- Check opening times, barriers and any parking charges on signage.
- Ask the landowner or the council if the site is private or managed — a polite enquiry is rarely refused.
- Park facing the way out, and avoid anywhere you would not want to reverse in the dark.
- Take a companion, tell someone where you are going and when you expect to be back, and check your mobile signal.
- Stay away from water edges, steep ground, livestock and any railway line.
Safety is not a formality. Most nights end early because someone felt uneasy, not because the clouds arrived.
Time It Right: Weather and the Moon
Two forecasts matter. Cloud cover decides whether you see anything at all, while transparency and seeing tell you how steady and clean the view will be. Check a reliable forecast on the afternoon of your trip and again an hour before you leave — UK weather turns quickly, and a promising evening can close in by nine o'clock.
The Moon is the other variable, and for lunar observing it is your subject rather than your enemy:
- For faint objects — galaxies, nebulae, the Milky Way — travel within a few days either side of a new moon.
- For the Moon itself — the best detail appears along the terminator, the line between light and shadow, which is richest around first quarter and last quarter.
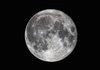
- Full moon — poor for deep sky, but excellent for tracing rays, maria and the bright crater Tycho, and forgiving of hazy or light-polluted skies.
Even from a moderately lit site, a small telescope or a pair of 10x50 binoculars will show craters, mountain ranges and the dark plains of the lunar surface in satisfying detail.
Pack Smart and Observe Well
Keep a bag ready so you can leave at short notice. Include a red torch or a phone screen set to red, warm layers and a hat even in summer, a flask, a folding chair, a dew shield or a simple cloth to keep optics dry, and a printed chart in case your battery dies. Binoculars are the best first instrument: light, forgiving and easy to use standing up.
Give your eyes twenty minutes to adapt, avoid white light entirely, and start with the brightest targets before hunting faint ones. Log what you see and where you stood — over a season you will build a personal map of dark corners near home, and the drive will start to feel like part of the ritual rather than the cost of it.


Stargazing
-
Filters can reduce glare from streetlights and enhance subtle lunar features. Choose one suited to your telescope size and typical local conditions.

Telescopes


-

Long established fact that a reader will be distracted
-

Long established fact that a reader will be distracted
-

Long established fact that a reader will be distracted


Lunar Phases
Karla Gleichauf
12 May 2017 at 05:28 pm
On the other hand, we denounce with righteous indignation and dislike men who are so beguiled and demoralized by the charms of pleasure of the moment
M Shyamalan
12 May 2017 at 05:28 pm
On the other hand, we denounce with righteous indignation and dislike men who are so beguiled and demoralized by the charms of pleasure of the moment
Liz Montano
12 May 2017 at 05:28 pm
On the other hand, we denounce with righteous indignation and dislike men who are so beguiled and demoralized by the charms of pleasure of the moment