

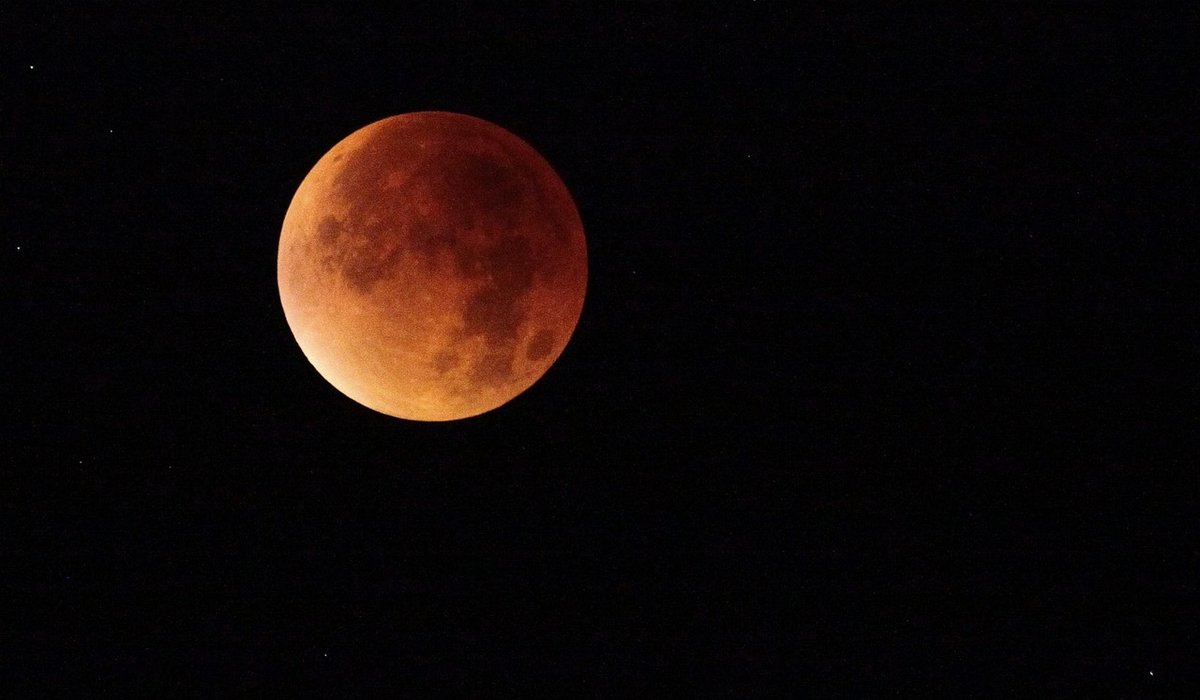
Simple Moon Photography with a Basic Camera
Why the Moon Makes a Perfect First Target
The Moon is the ideal subject for anyone in the UK who wants to try astrophotography without spending a fortune. It is bright enough to photograph from a back garden in Bristol, a suburban street in Leeds or a village in the Highlands, and it is completely indifferent to light pollution. You do not need dark skies. You do not need a telescope. You need a camera, a tripod and half an hour of patience.
What makes the Moon so rewarding is that it changes. Craters along the terminator — the line between light and shadow — appear to shift shape from night to night, and even hour to hour. A crater that looks flat at full Moon becomes a dramatic, shadow-filled bowl a few days later. Once you have captured your first sharp image, you will want to go back out and try again.
What You Actually Need
Almost any camera with manual controls will do: a DSLR, a mirrorless body, or a bridge camera with a long zoom. You need the ability to set shutter speed and ISO yourself, because automatic modes will almost always overexpose the Moon into a featureless white blob.
- A tripod. Even at fast shutter speeds, a long lens magnifies every wobble. A cheap tripod beats hand-holding every time.
- The longest lens you own. On most cameras, a 300mm lens gives you a Moon roughly a sixth of the frame's height. That is plenty — you can crop later.
- A spare battery. Cold nights drain batteries quickly, and UK observing sessions are usually cold.
- A red torch or a dimmed phone screen to check settings without wrecking your night vision.
If you own binoculars, you can try holding a compact camera's lens against one eyepiece — a technique called afocal photography. It is fiddly, but the results can be surprisingly good.
Camera Settings That Work
Here is the secret that surprises most beginners: photographing the Moon is a daylight exposure, not a night one. You are photographing a sunlit rock against a black sky. The camera's meter sees all that darkness and tries to compensate, which is exactly why automatic mode fails.
Switch to manual mode and start with these settings:
- ISO 100 or 200. Low ISO keeps noise down and preserves fine detail.
- Aperture f/8 to f/11. Most lenses are sharpest here, and it gives you a little tolerance for focus error.
- Shutter speed 1/125 to 1/250 second. This freezes atmospheric shimmer and any residual tripod vibration.
- RAW format if your camera offers it, so you can recover highlights later.
- Daylight white balance. The Moon is grey rock lit by the Sun; daylight is the honest setting.
A useful rule of thumb is the "Looney 11" rule: at f/11, set your shutter speed to one over your ISO. So at ISO 100, try 1/100 second. Then check the image on the screen, look at the histogram, and adjust. If the surface looks washed out, shorten the exposure. If it looks dim, lengthen it slightly.
Nailing Focus
Focus is where most first attempts go wrong. Autofocus often struggles with a bright disc against a black sky, so switch to manual focus and use live view. Zoom into the Moon on the screen, magnify to 10x if you can, and turn the focus ring until crater edges are crisp. Once you are happy, tape the ring in place so it cannot drift.
Turn off image stabilisation when the camera is on the tripod — it can introduce a subtle blur of its own. Use the two- or ten-second self-timer, or a remote release, so that pressing the shutter does not shake the setup. If your camera has a mirror lock-up function, use it.
Choosing Your Moment
Full Moon is the worst time to photograph lunar detail, even though it looks the most impressive to the eye. With the Sun directly behind you, shadows vanish and the surface looks flat. Instead, aim for the days around first quarter or last quarter, when the terminator cuts across the disc and craters cast long, dramatic shadows.
Weather matters more than anything else in the UK. Check a cloud-cover forecast rather than a general weather forecast — clear skies are the whole game. Also consider the Moon's altitude: it is sharpest when it is highest in the sky, because you are looking through less of the turbulent atmosphere. Shooting over a warm rooftop or a central-heating vent will ruin an otherwise perfect night.
A lovely trick is to photograph the Moon in twilight, shortly after sunset or before sunrise, when the sky is still deep blue. The exposure is easier to balance and the result looks far more natural than a stark white disc on pure black.
Squeezing Out More Detail
Once you have a decent single frame, try capturing twenty or thirty images in quick succession without changing anything. Later, in photo-editing software, you can align and average them together to reduce noise and pull out finer detail than any single shot allows. This is called stacking, and it is how most striking lunar images are made.
Finally, resist the temptation to zoom digitally or use in-camera cropping. Shoot the Moon small in the frame, then crop and sharpen on a computer where you can see what you are doing. Keep the sharpening gentle — a light touch reveals crater rims, while heavy sharpening adds ugly halos.


Stargazing
-
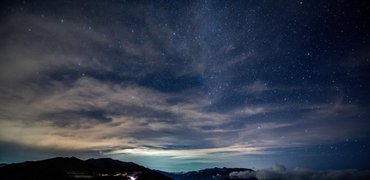
Take many short exposures and stack them later for smooth trails. Point away from streetlights and include a tree or roof for context.
Telescopes


-

Long established fact that a reader will be distracted
-

Long established fact that a reader will be distracted
-

Long established fact that a reader will be distracted


Lunar Phases
Karla Gleichauf
12 May 2017 at 05:28 pm
On the other hand, we denounce with righteous indignation and dislike men who are so beguiled and demoralized by the charms of pleasure of the moment
M Shyamalan
12 May 2017 at 05:28 pm
On the other hand, we denounce with righteous indignation and dislike men who are so beguiled and demoralized by the charms of pleasure of the moment
Liz Montano
12 May 2017 at 05:28 pm
On the other hand, we denounce with righteous indignation and dislike men who are so beguiled and demoralized by the charms of pleasure of the moment